

1.Introduction
The Dynamic Wall is part of the full Dynamic Elements bundle and allows you to run a multi-screen PowerPoint slideshow over all monitors connected like a video wall.
2.System Requirements
Microsoft Office 2016 and up.
.NET Framework 4.7.2 and up. Read full specifications here.
Supported Client Operating Systems:
- Windows 10
- Windows 11
Supported Server Operating Systems:
- Windows Server 2012
- Windows Server 2016
- Windows Server 2019
- Windows Server 2022
- Windows Server 2023
3.Getting Started
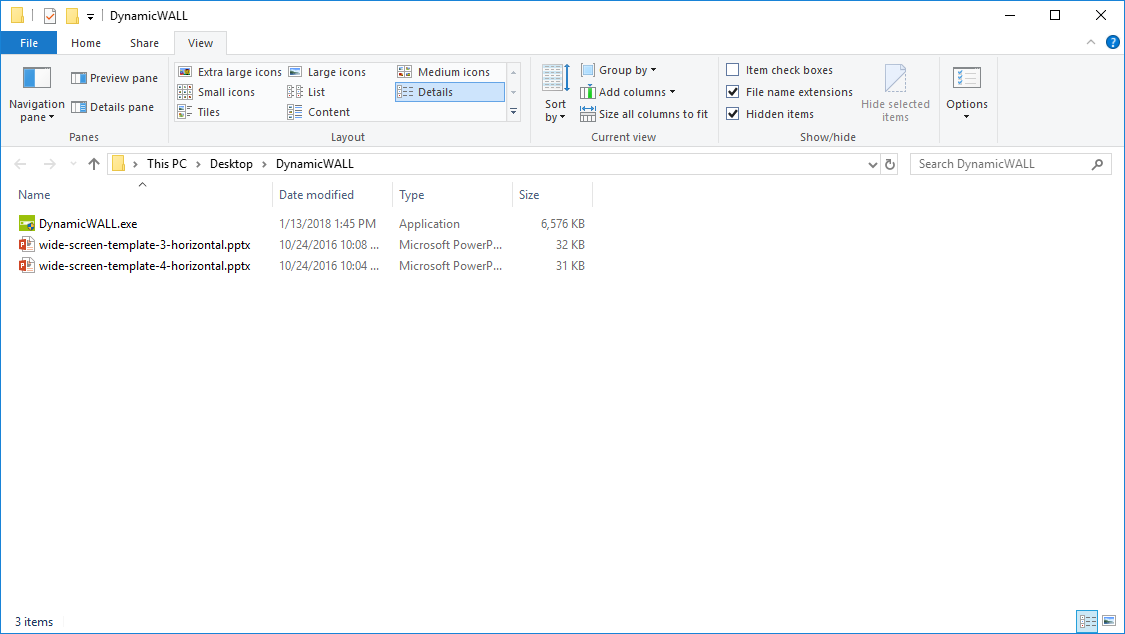
Start by unzipping the ZIP file and you will get this file.
The DynamicWall.exe is the installation setup and is best executed by a user with administrative rights. After installation, you will see a new Dynamic Elements menu item in the PowerPoint ribbon.

When you click to open this Dynamic Elements menu option, then you will see the Dynamic Wall button in the group.

In the event that you have more add-ons of the Dynamic Elements bundle installed, then more buttons will show up here.
Click the Wall button to open the Dynamic Wall pane in PowerPoint.
4.Slide Design
Video walls with presentations are great. You can display your message or presentation over multiple screens, and still do the design in PowerPoint.
To drive a video wall, you need a stronger computer and a better video graphics card. A video graphics card for only 2 monitors are very common, but you will find video graphic cards to drive 4 or 6 or 8 screens from one computer. So, you need the computer, a video graphics card and your screens.
That’s for hardware. You will also need software. Natively, PowerPoint can only run a slide show on one screen. You can choose between the primary of the secondary screen, but at this time, PowerPoint is unable to display an enlarged presentation on multiple screens, unless it is seen as one screen all together.
For example, take-away or fast-food restaurants you will see those 3 or 4 screens, next to each other, displaying a page from the old paper-based menu card. That is something that can perfectly be made in PowerPoint and Dynamic Wall.
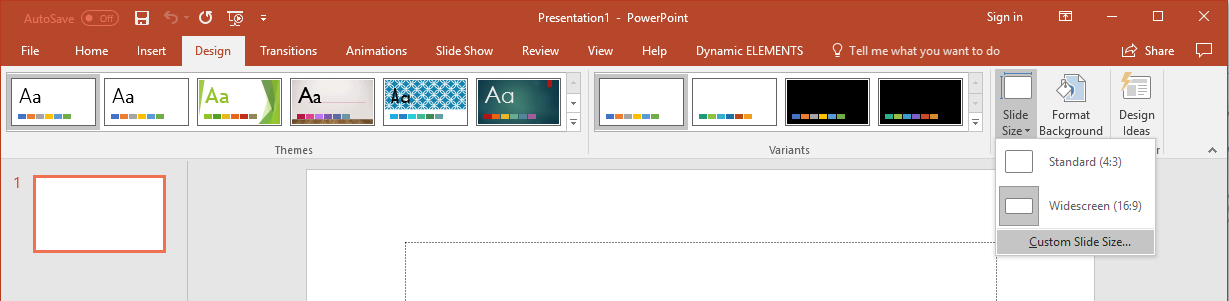
The trick is to set the correct slide proportions or slide resolution at your presentation design. Click the Design menu option from the PowerPoint ribbon.

Then click the Slide Size button, and choose Custom Slide Size.
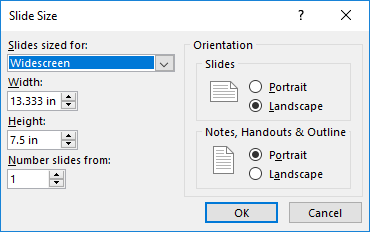
These are the default settings for a widescreen design. 13.333” (or inch) by 7.5”. That is the typical aspect ratio for a widescreen or 16:9 television format.
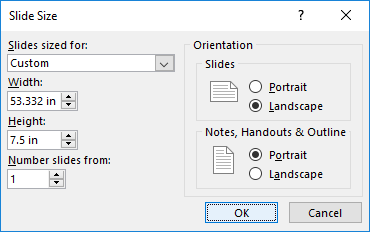
In case of the fast-food menu displays, we need to show the slideshow on 4 horizontal screens. So here we have to take 4 times the width and leave the current height to 7.5”.
So, 4 x 13.333 = 53.332
Set the new width setting to 53.332 like so:
Click OK. PowerPoint might ask you how to handle the existing content of your slides (if any). Best is to start with an empty design. Then nothing will be lost. Choose Maximize or Ensure Fit according to your need. It makes no sense what you choose when your slides are empty.

Your new PowerPoint slide looks like this now.

5.Add Guides
Your 4 horizontal screens for your imaginary digital menu board looks like this.

You can add shapes and content now for each screen, but the problem is that you don’t clearly see where you first screen ends and where your second screen starts.
To help you with this, you can add guides to your slide. Right click your slide, and choose Grid and Guides from the popup menu.

Depending on your monitor setup, you will need to choose to add vertical or horizontal, or both. For our menu board, we will add 3 vertical guides.
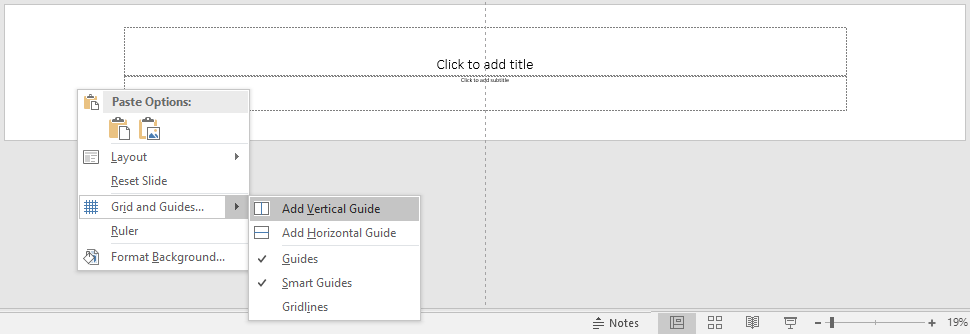
This will add more horizontal guides that you can select and move around on your slide. It is your intention to place the first guide from the middle to the left here. The first guide can be move to position 13.33 at the left.

And another one at +13.33 to the right.

Now you have added 3 vertical guides to indicate where a new screen starts. After your work, you could remove the guides, but note that guides are never visible during the slideshow. So you can leave them in.
6.Activate Wall
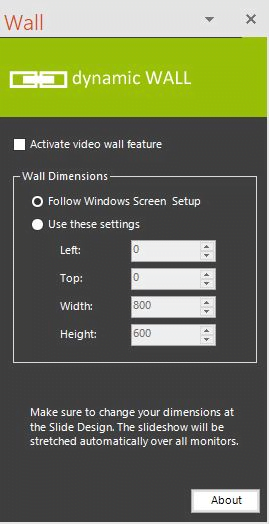
Click the Wall icon of the Dynamic Elements menu option. A pane with the Dynamic Wall options is opened.
Check the option Activate video wall feature when you want to use your presentation on all screens of your computer.
Most users will be best of by using the Follow Windows Screen Setup. Optionally, you can switch to Use these settings and set the outer range or sum of all monitors together.
7.Using Templates
In the files extracted from the ZIP file, there are 2 templates that you can use.
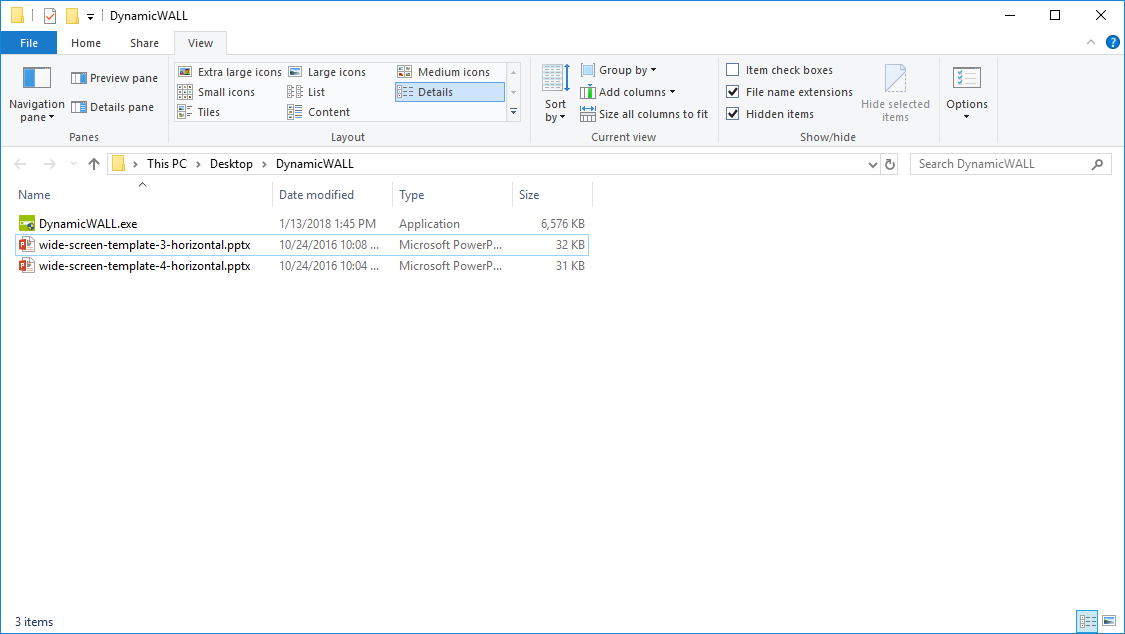
Open the wide-screen-template-3-horizontal.pptx file for this 3-horizontal video wall.
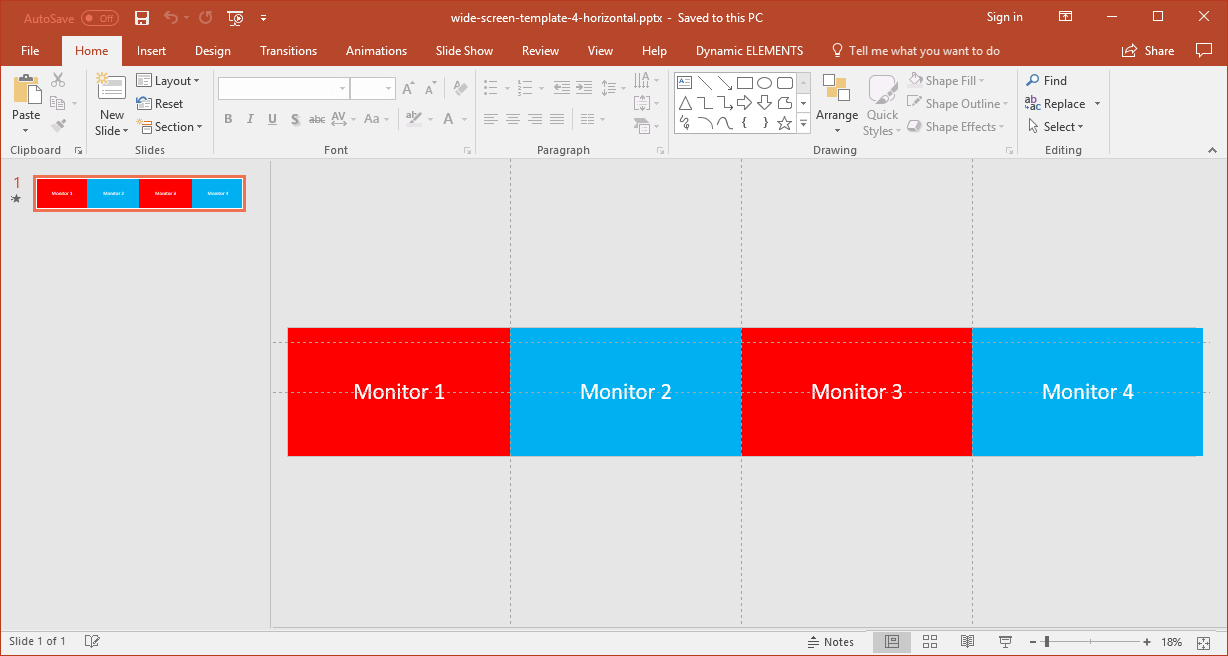
Or the file wide-screen-template-4-horizontal.pptx for a 4-horizontal video wall.
8.Building for Video Walls
You have your virtual screens visible on your slide. Start adding text boxes and images to your slide.
Here are the a 4 horizontal screen menu board.

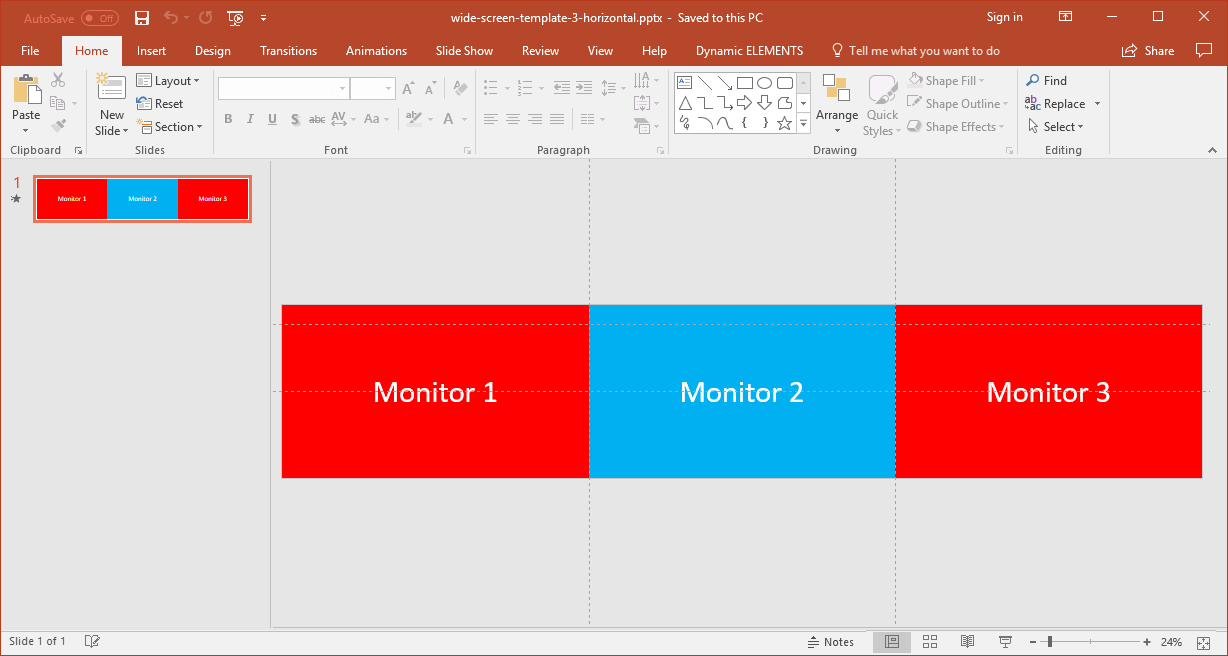
And 3 examples of 3 horizontal menu board.


Set the slideshow show type to kiosk mode to let it run forever. Optionally, you can add other Dynamic Elements addons to add live weather or news to your screens. Or even use DataPoint-technology to update from remote the pricing and menus via an Excel spreadsheet.